At Searchalytics, we build a large percentage of our websites on WordPress and we’re all huge fans of Elementor. Maybe we’ll discuss our fandom in another post but we want to highlight the easiest way to setup form event tracking and goal tracking.
Goal tracking is extremely important to measure the performance of the website and the marketing dollars spent. Once you have a baseline of solid data from event/goal tracking, it provides the necessary information to make data-backed decisions on where to grow or diminish your time/money spent.
We’ll show you our favorite method for setting up event/goal tracking for Elementor form completions while acknowledging there are a few other ways. You can use form completion redirection to a “thank you” page (which our designers hate) or Google Tag Manager (which requires a bit more time and coding).
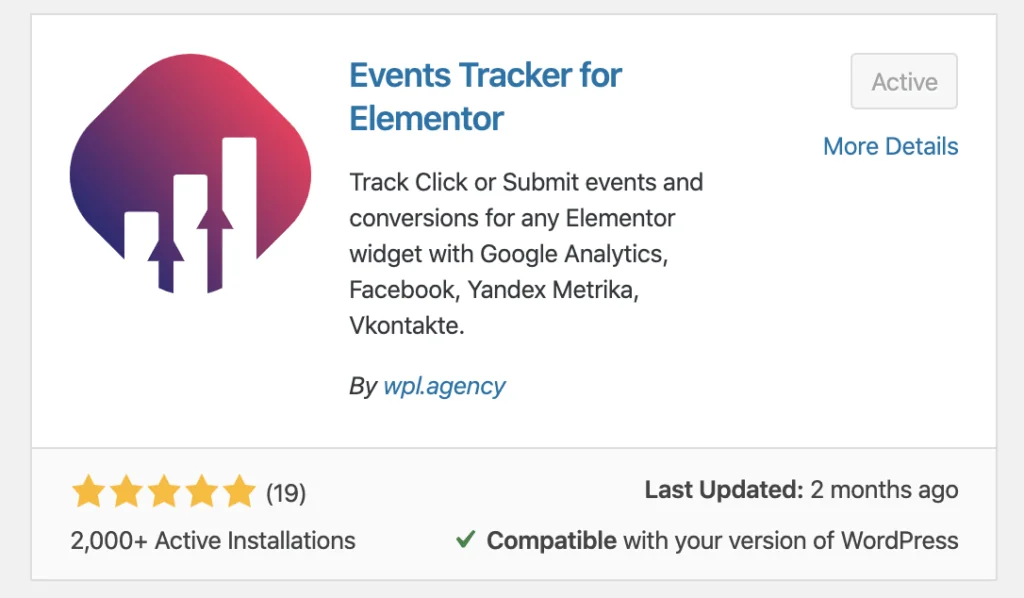
Step 1 – Add/Activate Events Tracker for Elementor Plugin
Nobody wants to load up a WordPress website with a mess of plugins, the negatives are well-documented. However, this plugin saves us time and doesn’t require Google Tag Manager for every client.
Search for the Events Tracker for Elementor plugin and activate it.
Step 2 – Configure Plugin for Google Analytics
Within the WordPress admin/backend, navigate to Elementor > Settings > Events Tracker.
Please excuse this quick aside – We don’t want to make any assumptions that you don’t have Google Analytics already installed on the website. Clearly you’re savvy enough to build on WordPress, you’ve shown great taste to be building with Elementor, and you also care about performance measurement. IF you happen to not have Google Analytics tracking code on the site already, that little “Add gtag simple tracking code” checkbox will do that for you. If Google Analytics is already on your site, don’t check that box; double analytics code = bad data.
If you already have GA tracking code on your website, just paste your tracking ID to the field:
- Global Site Tag ID (gtag.js) — Newer tracking code
- Google Analytics ID (analytics.js) — The old GA tracking code
Retrieve the tracking code within Google Analytics, on the bottom left of the screen, click the Settings icon > Tracking Info > Tracking Code.
Insert the Google Analytics tracking ID to one of the two Google Analytics tracking lines.
Save your changes.
Step 3 – Add Tracking to the Form
Navigate to an Elementor form and click the pencil icon on the top right of the block.
Open the Events Tracking section and enter the Event Category, Event Action, and Event Label that you’d like to see in Google Analytics.
Step 4 – Confirm Tracking w/ Live Analytics
Because Google Analytics data has a delay, it’s best to validate events are showing properly using Google Analytics Realtime reports. Within Google Analytics, navigate to Realtime > Events. Do a test form completion and it should look similar to the following screenshot.
Data will also be viewed in Google Analytics > Behavior > Events > Top Events. Regard the tiny tabs to view data for Event Category, Event Label, and Event Action.
Step 5 – Setup Goal Tracking in Google Analytics
Goal tracking in Google Analytics can easily be setup based on existing event tracking. Navigate to Settings in the bottom left of Google Analytics > Goals > Click the New Goal button.
- Goal Setup – Click “Custom”
- Goal Description – Give the goal a name like “Leads” or “Form Completions” and select the Events radio button
- Goal Details – Enter the previously-named Event Category in the Category field (ours was “Form”) and then Save
The data can be viewed in multiple ways but most commonly in Google Analytics > Conversions > Goals > Overview.
Or it can also be viewed in Google Analytics > Conversions > Goals > Funnel Visualization


